

Bikes
HOW TO WASH YOUR BIKE
Feb
OUR SLIGHTLY OBSESSIVE BUT TOTALLY DOABLE STEP-BY-STEP GUIDE TO MAKING YOUR BIKE SHINE
An ordinary wash accomplishes more than clean up your bike, says Mike Yozell, Bicycling’s in-house specialist. “It causes you discover mileage so you can fix it before it’s past the point of no return.” He suggests cleaning a street bike month to month (or each 20 to 25 rides), a mountain or cross bike all the more frequently, and any bike after each muddled ride. Here’s your arrangement.online bike shop
The Setup
Fill two clean basins with water and a liberal squirt of dish cleanser. (Mike likes Dawn Ultra.) Lay out your brushes, wipes, and clothes.
Spot your bike in a work stand. This brings it up off the ground and makes every one of the alcoves and crevices simpler to reach. No work stands? Take a stab at snaring the nose of your seat over a tight clothesline.
Next, evacuate your wheels. I like to embed a chain guardian [a direct for your chain when the tape is removed] to keep strain on the drivetrain, Mike says. It’s fine to avoid this progression on the off chance that you would prefer not to jump on the instrument, however utilizing one keeps the chain from collapsing up on itself or tumbling off the bike when you attempt to deal with it. Trust us, it’s irritating.online bike shop
The Wash
Stage 1: Chain
Apply a degreaser and turn the wrenches in reverse so the item jumps on each connection, says Mike. At that point go have a coffee while it does its thing for 5 to 10 minutes. Flush with a delicate stream of water from the hose. In the event that the chain is as yet unsanitary, apply little drops of dish cleanser like you would a lube, hold the chain in the unpleasant side of your wipe, at that point turn the wrenches for a few pivots. Flush.
Stage 2: Drivetrain
Plunge a firm bristled brush into one of your prefilled pails and clean the chainrings. Utilize a container brush or toothbrush to get into cleft around the teeth, pulleys, and rings, Mike says. Wash with a delicate stream of water and rehash on the off chance that you despite everything see any waiting muck. Next, snatch your back-haggle dish cleanser onto the tape, scour, at that point flush. Rehash if important.
Stage 3: Frame
Plunge a perfect, delicate wipe into your second (new) pail. Cleanser up the casing, working your way from front to back. Be orderly so you recollect what you’ve done, Mike says. Wash. On the off chance that you have caliper brakes, clean the cushions with the grating side of the wipe.
Stage 4: Wheels
I utilize milder and greater brushes for tires and edges so they get into fissure with less exertion, Mike says. Dunk your brush into the can you utilized for your casing. Beginning at the valve, scour right around the wheel, hit the spokes and center, at that point flip the wheel to get the contrary side. Rehash on the other wheel. Flush. (In the event that you have circle brakes, utilize the delicate side of a perfect wipe with cleanser and water on rotors.)
The Finish
Reattach the haggles the wrenches to ensure the drivetrain runs easily. Wipe everything down with a dry material or let it air-dry in the sun. Lube your chain.
Do:
- Reuse your dish wipes. You’ll get another couple of months out of them on bike-wash obligation.
- Floss with a perfect cloth between chainrings, machine gear-pieces, and other difficult to-arrive at places.
- Be committed. A spotless bike rides better and keeps going longer.
Don’t:
- Blend your cans, instruments, and clothes. You would prefer not to cover your casing with drivetrain oil.
- Utilize a grating wipe or brush on your casing.
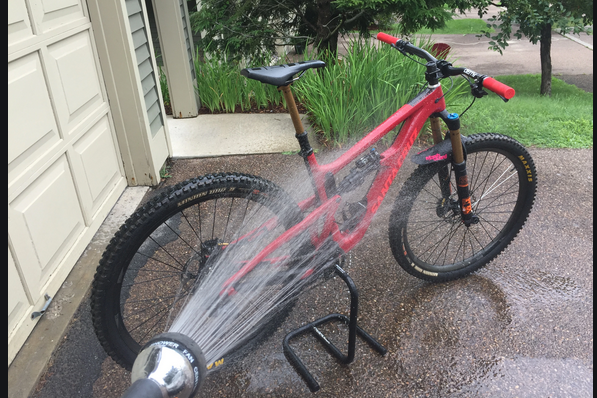
- Shoot your bike with a high-pressure hose. Water will get into and debase your direction.online bike shop
you also go our shop by use follow the google map link